Fluent Bit installation on Ubuntu
In order to forward Ubuntu logs to Apica Ascent by leveraging Fluent Bit, do the following.
Download the
td-agent-bit.shscript from this folder.Make the script executable by running the following command.
chmod +x td-agent-bit.sh
For AWS EC2 ubuntu instances
chmod +x td-agent-bit-aws.shSet the cluster details
export ASCENT_HOST="example.apica.i"
export MY_TOKEN=<Your Token>Execute the script by running the following command.
HTTP endpoint:
sudo -E ./td-agent-bit.sh "http"
HTTPS endpoint:
sudo -E ./td-agent-bit.sh "https"
or
HTTP endpoint:
sudo bash td-agent-bit.sh "http"
HTTPS endpoint:
sudo bash td-agent-bit.sh "https"
For AWS EC2 Ubuntu instances:
HTTP endpoint:
sudo -E ./td-agent-bit-aws.sh "http"
HTTPS endpoint:
sudo -E ./td-agent-bit-aws.sh "https"
or
HTTP endpoint:
sudo bash td-agent-bit-aws.sh "http"
HTTPS endpoint:
sudo bash td-agent-bit-aws.sh "https"
The script execution carries out the following:
Installs Fluent Bit
Checks your OS versions and updates your sources list, as mentioned in the Fluent Bit documentation.
Configures Rsyslog to add
omfwd, as shown below.*.* action(type="omfwd" queue.type="LinkedList" action.resumeRetryCount="-1" queue.size="10000" queue.saveonshutdown="on" target="127.0.0.1" Port="5140" Protocol="tcp" )The script also places the
td-agent-bit.conffile under the default Fluent Bit installation folder/etc/td-agent-bitas shown below for http and https endpoints.For HTTP endpoint [OUTPUT] Name http Match * Host localhost Port 80 URI /v1/json_batch Format json tls off tls.verify off net.keepalive off compress gzip Header Authorization Bearer ${ASCENT_TOKEN} For HTTPS endpoint [OUTPUT] name http match * host <ascent endpoint> port 443 URI /v1/json_batch Format json tls on tls.verify off net.keepalive off compress gzip Header Authorization Bearer <Token>
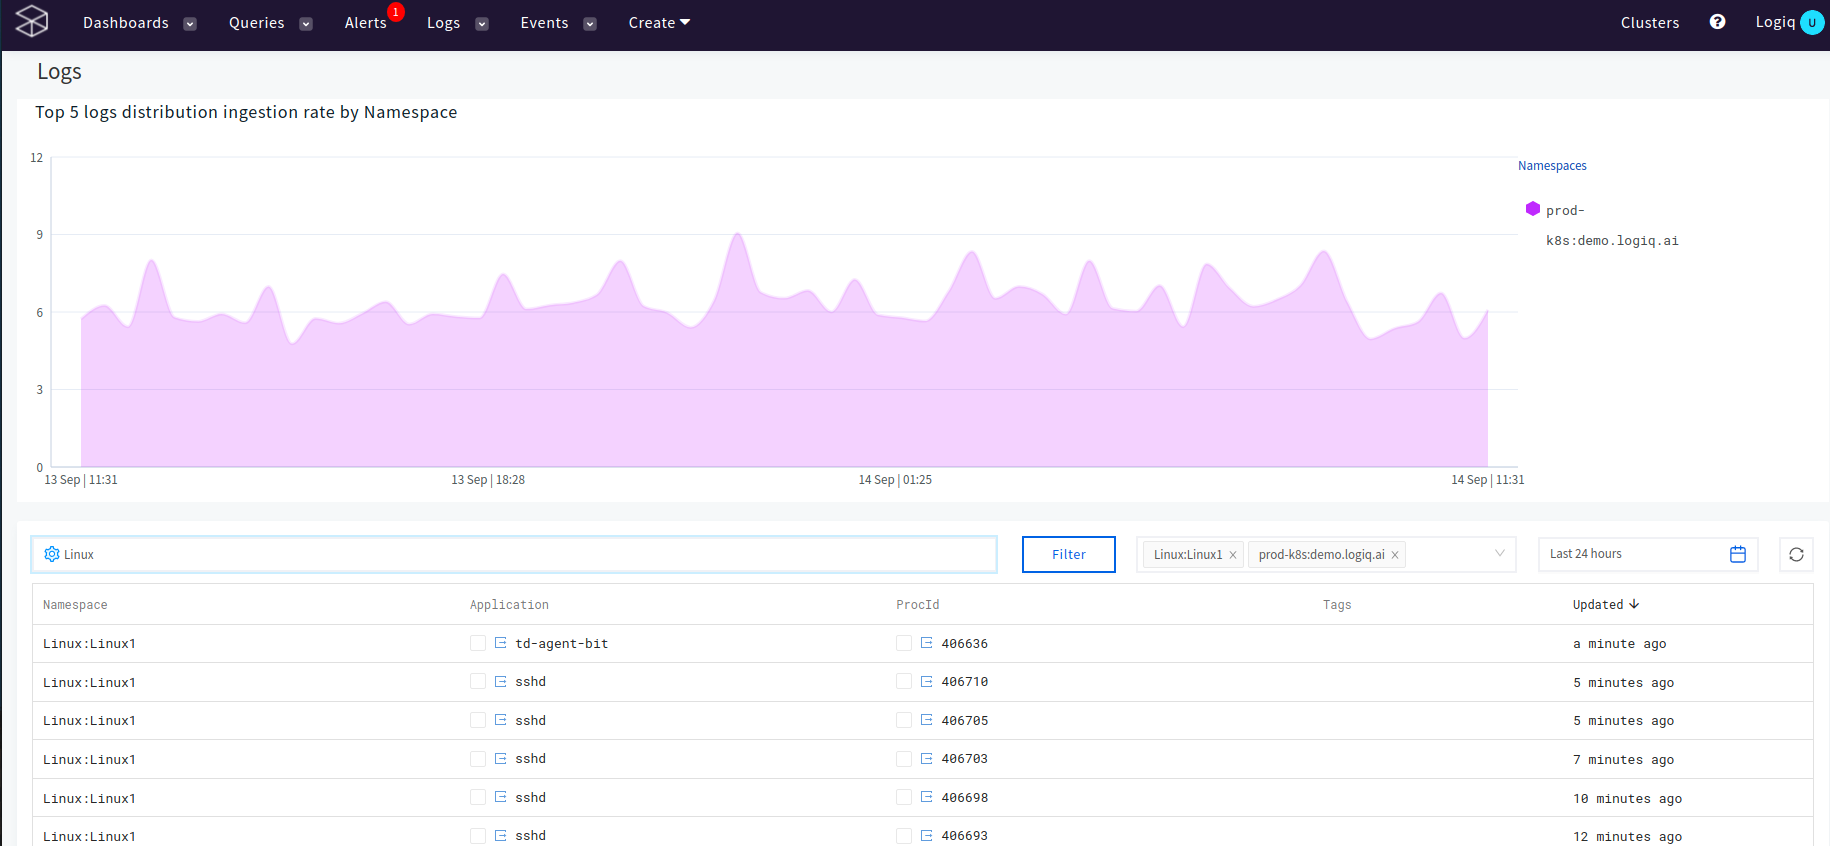
You should now see your Ubuntu logs being ingested into the Linux:Linux1 namespace on your Apica Ascent UI.

Last updated
Was this helpful?